
Enchanted Garden Box

SCOPE: Arduino, LaserCutter, Illustrator, 3D Printer, AI
TIME: 3 Weeks
TOOLS: TinkerCAD, Genie AI, ChatGPT, Illustrator
Project & Process:
This project was made for a class revolving around creating a variety of physical artifacts using digital technologies. The assignment was “to make a thing that does a thing”. This assignment gave us lots of creative freedom, and through multiple iterations, I came out with this Enchanted Garden Box. It has 3 push buttons, 3 LEDs, a passive buzzer, a photo resistor, and a servo. When the buttons are pressed, the corresponding LED turns on and a note plays on the buzzer. When the photo resistor is covered and senses darkness, the servo turns 90 degrees.
Ideation Phase:
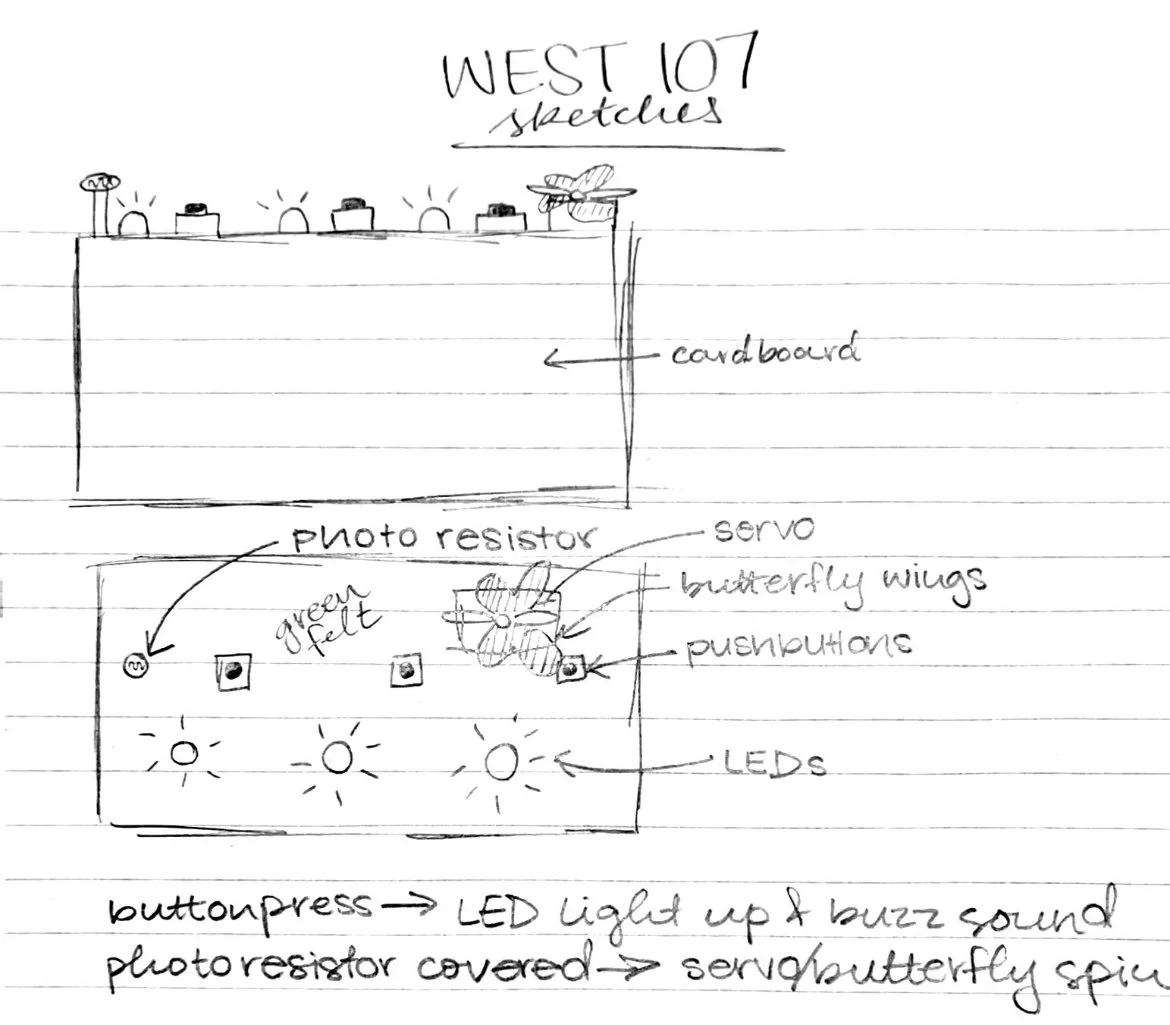
To begin this project, I sketched out a few ideas of what I could create with an arduino. Here are some of my sketches, and for each of these ideas, I did external research and found links for tutorials of these projects that could help make the process less complicated:

Picking a Project:
The final idea for the Enchanted Garden Box came to me after I made my initial sketches. I thought it would be a simple yet fun way for people to interact with my project, which is why I proceeded with the idea. I also enjoyed the idea of creating something so technical appear floral, feminine, and approachable.
Coding Process:
The first step I took was to ensure that the arduino and code worked. To do this, I planned out the basic part of the circuit on TinkerCAD and then asked ChatGPT to edit the original code so that if a photoresistor and servo were connected, the photoresistor could rotate the servo.


Materials and Assembling Process:
I then planned out the layout of my box using Illustrator, which I then used the LaserCutter with cardboard. This gave my box a solid foundation and a sturdy structure. Proceeding this, I used a 3D Printer to print out a fairy model for decoration which I generated on GenieAI. For the servo, I decided to make a little butterfly out of hot glue so it would move. After this, I needed to solder pushbuttons, LEDs, photoresistor, and servo to the breadboard so they could still be accessible over the lid of the box.


Decorating Process:
After completing all the physical parts of my project, I decided to decorate the outside to make it look a bit more whimsical. I used green felt on the outside of the box to make it look similar to grass, paint to add color to the fairy and butterfly, and construction paper to add flowers to the garden. I wanted it to be playful, so I added a bunch of little fun decorations to the box.


Results:
This project allowed me to utilize the knowledge I gained from this class in a unique way. I could use any materials, any methods of fabrication, and even AI to enhance the product and assist my process. Through this, I learned the versatility of Arduino, the limitless capabilities of AI, and how to create an interactive object.
Watch the interactions with the Enchanted Garden Box!